Home
Ruach Development Project
Project Overview
Benefits
Statement of Need
Statement of Significance
Fundraising Events
Planning Information
Introduction
Site Analysis
Layout and Use
Scale and Massing
Landscape
Access
Energy and Sustainability
Summary
Pre-work
Donations
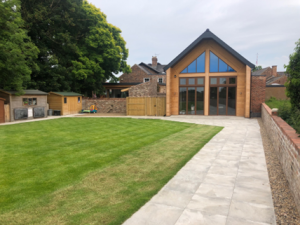
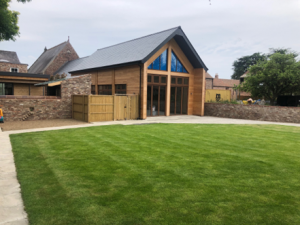
Phase 1
Completion Information
Grants Awarded in Support of Phase 1
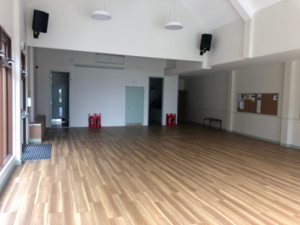
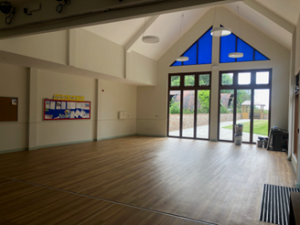
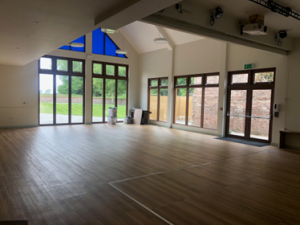
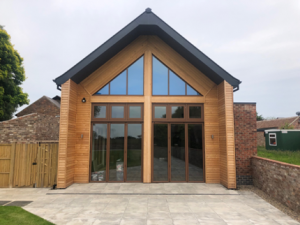
Photo Gallery
Phase 2
Grants Awarded in Support of Phase 2
Photo Gallery
Phase 3
Worship
Services
Baptisms, Weddings and Funerals
Eco-Church
Church Notices 12th April-26th April
Groups
Calendar
CAMEO
Friday Fellowship
Coffee on the Green
Room Hire
Room Description & Charge
Make an Enquiry
New Hall
Old Hall
Treehouse Room
Inman Room
Main Church
Church Extension
Information
Annual Report and Accounts
History
Safeguarding
Contact Us
Find Us
Links
Village Show
List of Classes
Entry Form & Guidance
Advice on Presentation
Search
↑ Return to
Phase 1
Photo Gallery